Follow my blog with Bloglovin
DIY Paper Garden Rose – The House That Lars Built
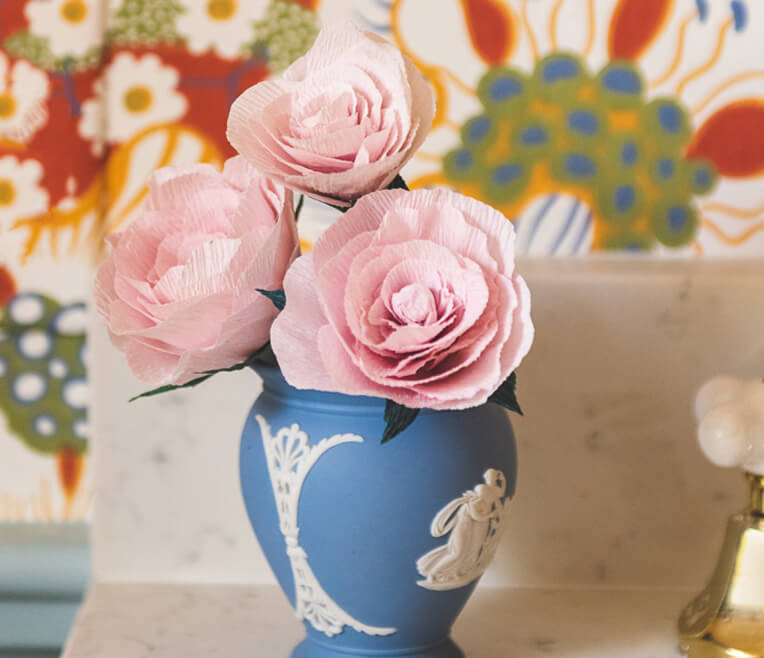
Exclusively in sisterMAG No. 62, The House That Lars Built shares this DIY for a paper garden rose with the readers, which you can download for free on our website. You can also discover more great flower DIYs at the end of the feature. Enjoy!
- DIY & Photos: The House That Lars Built
DIY Paper Garden Rose
The House That Lars Built
This sweet garden rose is perfect for bringing the outdoors inside. I love making a few and sprinkling them around the house. Here’s how to make it!
Materials:
- crepe paper in a pink and a green
- wire
- wire cutters
- glue gun
- scissors
- template
Instructions:
- Cut a small piece of crepe paper about 2x3cm.
- Cut another small piece of crepe paper about 5x5cm and scrunch it into a ball. Glue a piece of wire into the ball and glue in place.
- Wrap the first piece of crepe paper around the ball and twist it and secure it with glue.
- Cut out the templates.
- Start the rose by cutting the smallest petal shape onto the crepe paper with the grain of the crepe going vertical as indicated on the template. Stretch out the paper gently.
- Glue at the bottom of the petal and wrap around the base of the ball. Do about 5 or 6 of these.
- Go onto your next shape and repeat with about 6 more petals.
- Finish it off with the largest petal shape. Repeat until you have the size of rose you‘d like.
- The last petals should bend outwards.
- Add 5 or 6 long green leaves around the base of the petals
- Cut a piece of crepe paper about 1cm by 10cm long going against the grain. Stretch it out gently. Glue the paper to the base of the flower and wrap around the wire.
- Cut out your leaves and insert them into the stem.
- Glue in place.
Ta Da!
More DIYs


