How to: Organize your embroidery threads
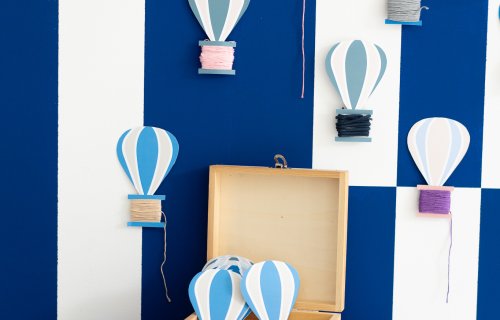
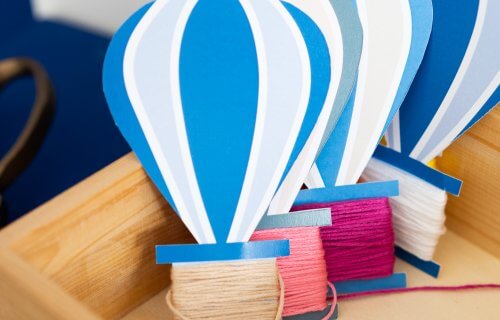
In a sisterMAG issue dedicated to bead embroidery, a few DIY ideas around the colorful threads can’t be missing! Since organizing can be a challenge for creative minds, we’ll show you three cute little hacks on how to organize your embroidery threads easily and wonderfully. Whether it’s hot air balloons, little cartoon dolls, or clothespins – anything can come in handy for arranging your embroidery thread collection.
- Production & DIYs: Marie Darme-Rizzo
- Photos: Thea Wittemann
How to: Organize your embroidery threads
In this issue of sisterMAG, dedicated to embroidery, we have chosen exactly the embroidery thread as the main stimulus for the idea presented here. With the help of the templates and instruction, you can craft a really pretty set for all the materials that are in your embroidery thread collection. Whether it‘s hot air balloons, little cartoon dolls, or clothespins – anything can come in handy for arranging your embroidery thread collection.
Although creativity and chaos go hand in hand, it can also be fun and quite creative to arrange the materials you use in a cute manner from time to time. Adding pretty elements to materials can transform even the most chaotic space into a source of inspiration and motivation for working on DIY projects.
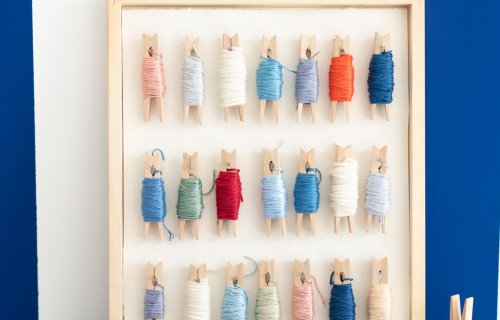
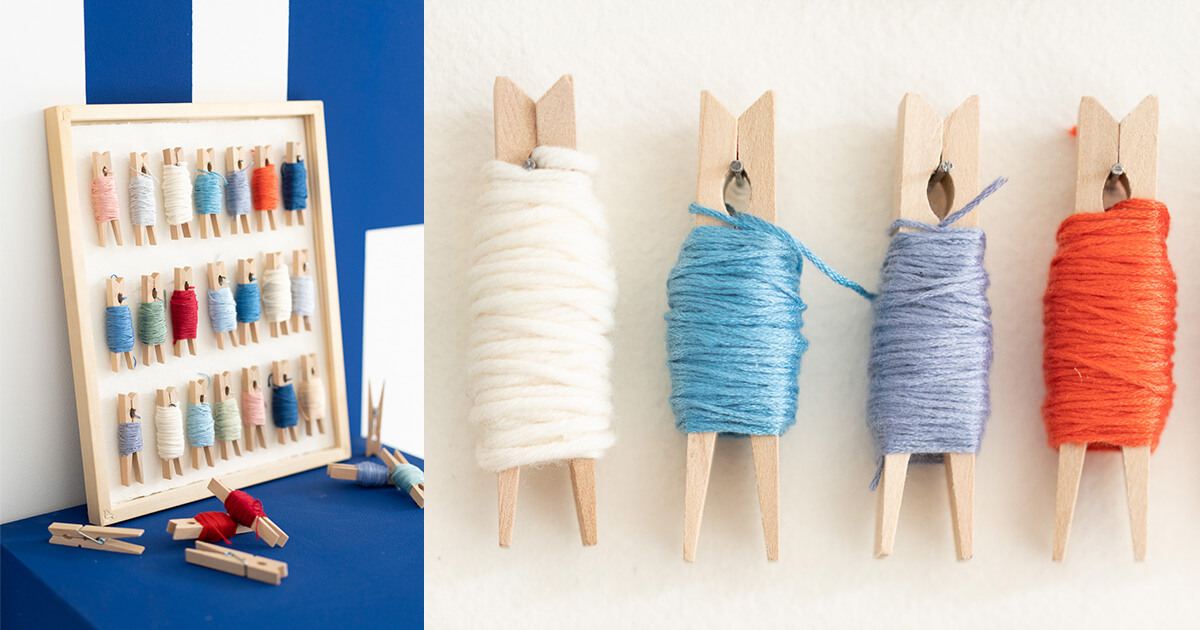
Organization of embroidery threads with wooden clips
Material:
– Wooden clips
– Picture frame A4
– Solid cardboard in A4
– Nails
– Hammer
– Yarn
– Ruler
– Pen
Instructions:
1.) Depending on the size of your picture frame, make marks on the cardboard so that you can later attach the nails, with a distance of 3 cm width and 9 cm height.
2.) Using a small hammer, fix the little nails on your paper.
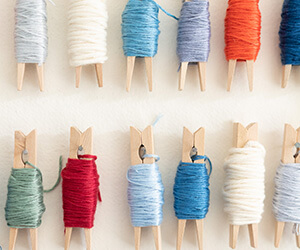
3.) Put the cardboard in the frame, if necessary, fix it with glue around the edges. Wrap the yarn around the wooden clothespins, hang them on the nail. Ready!


